
Click Here for Splashtop Download
Click Here for Mac Version of Splashtop
Step 1: Download the remote software
Start by clicking the link above to begin the download of the Splashtop executable to setup your remote software application. Depending on which browser you are using, follow the steps below to download and run the program.
Step 1a: Installing through Chrome
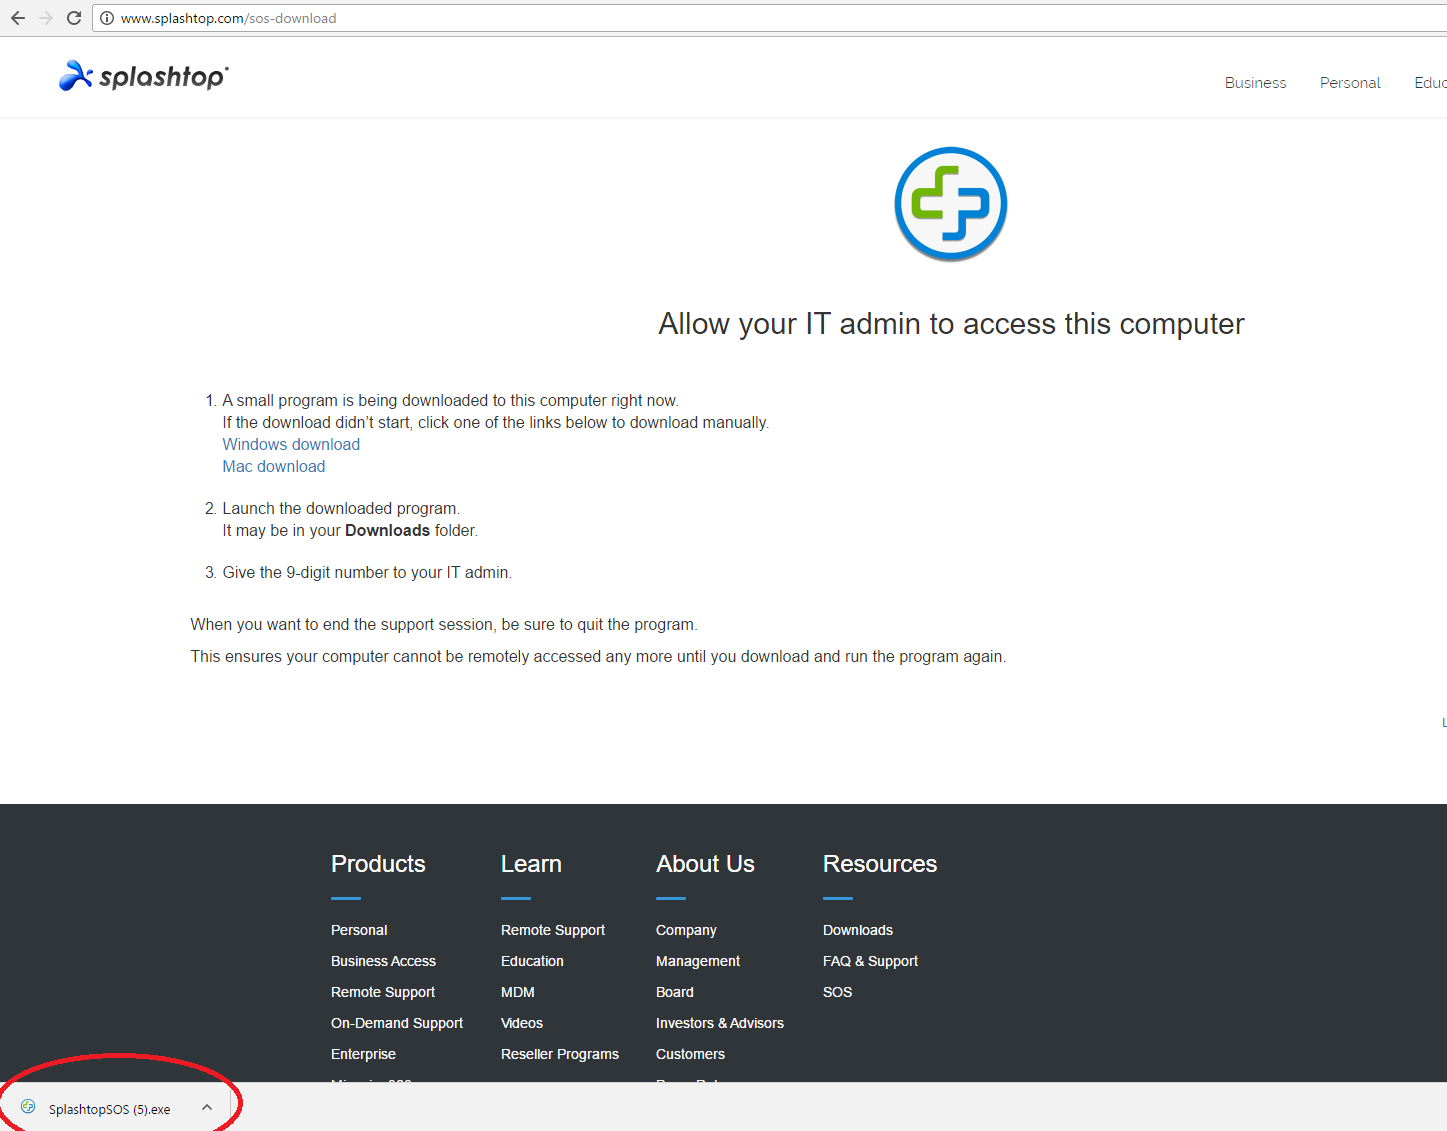
Once you begin the download of the Splashtop executable, an icon will appear in the bottom left hand corner of the screen that shows a download in progress. Once it is finished downloading, the icon will say SpashtopSOS.exe: click on the icon to open the downloaded program. It will begin the installation and your 9 digit login ID will appear. The Splashtop window will then appear and your 9 digit login ID will appear. Give that number to the technician on the phone and we will be able to connect to your computer.
Step 1b: Installing through Firefox
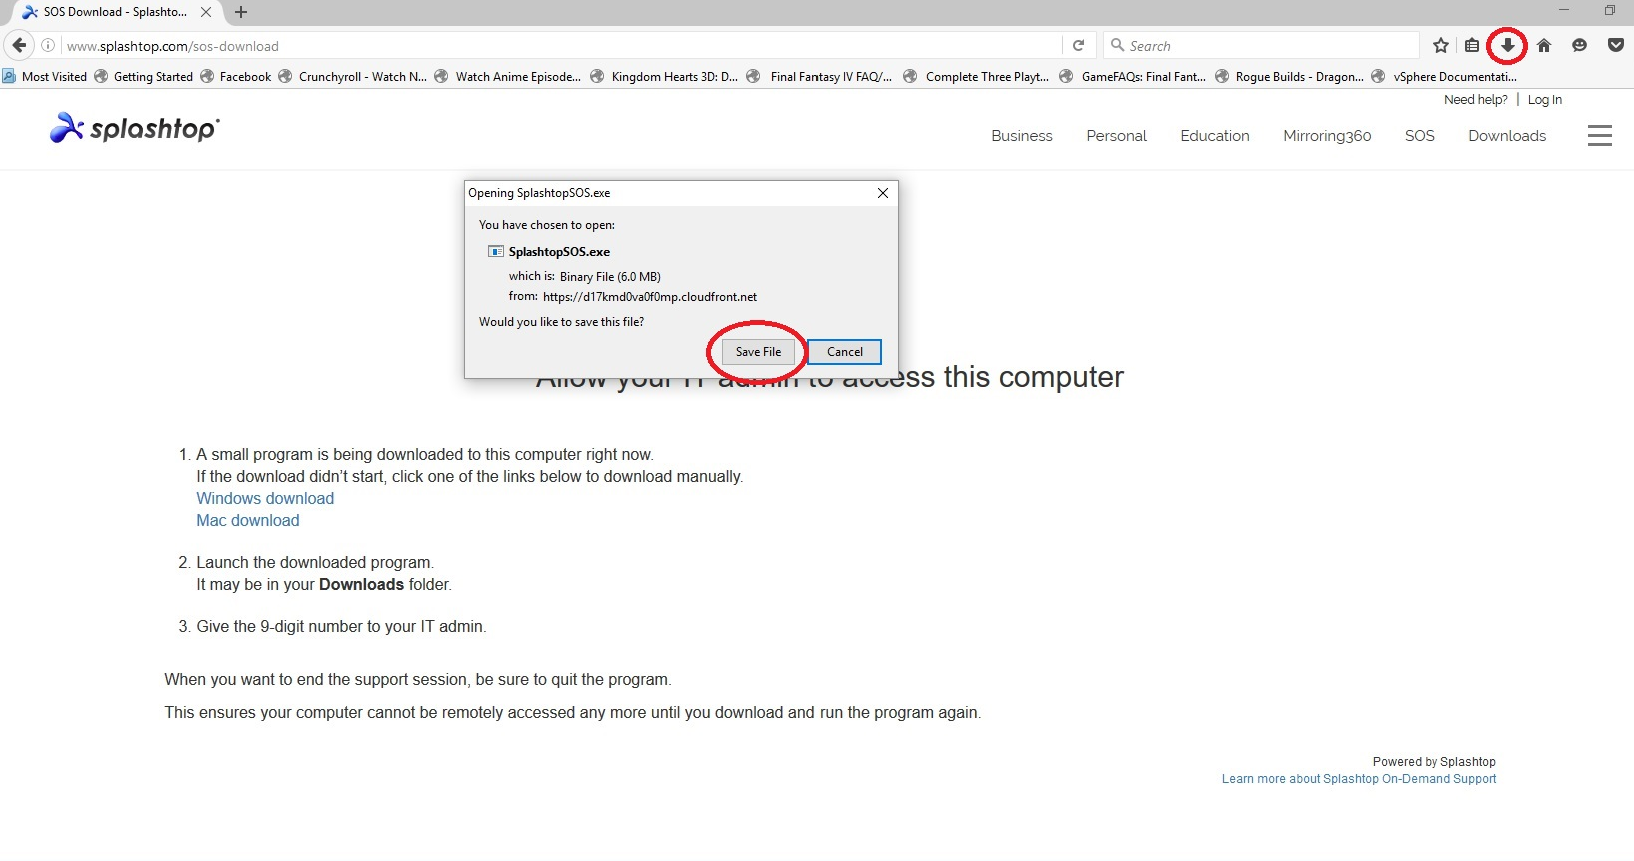
Once you begin the download, a prompt will appear. To save the file titled SplashtopSOS.exe, click Save File and it will begin to download. When it is finished, a downward facing arrow in the top right corner will be a solid blue color: if the arrow is blue that is your indication that the download has finished. Next click on the arrow, and click on the program labeled SplashtopSOS.exe. The Splashtop window will then appear and your 9 digit login ID will appear. Give that number to the technician on the phone and we will be able to connect to your computer.
Step 1c: Installing through Microsoft Edge
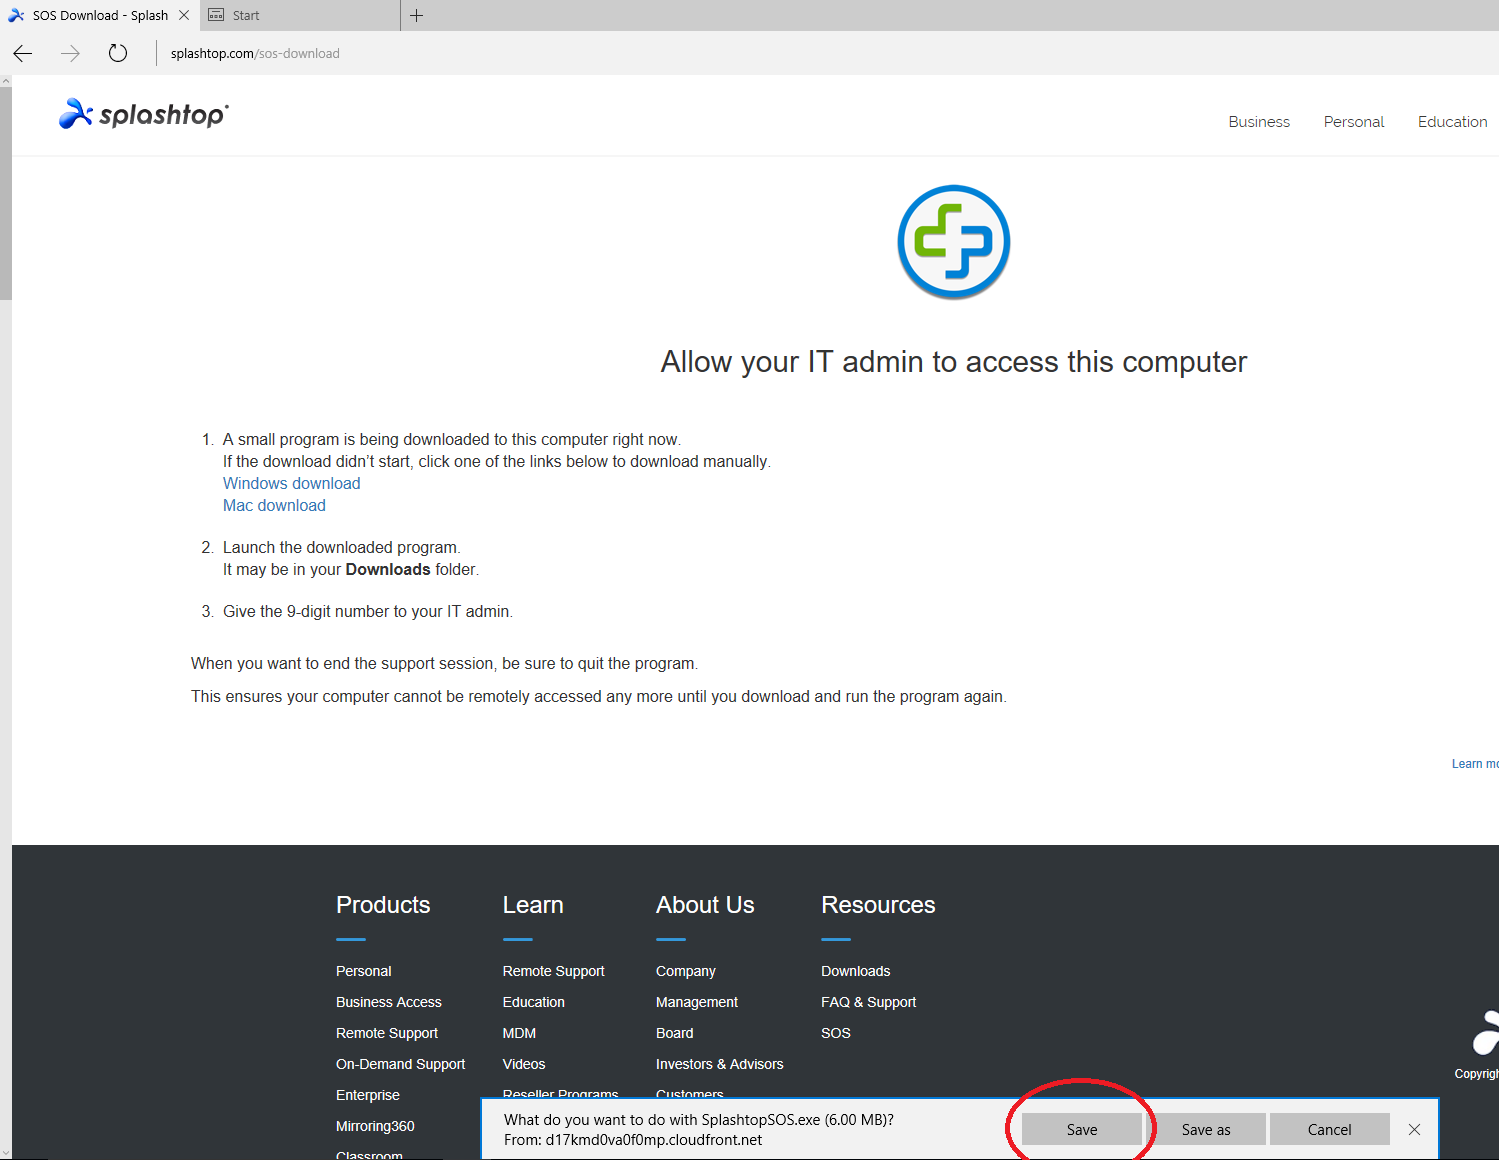
Once you begin the download of the Splashtop executable, a prompt will appear at the bottom of your browser asking you to save the file titled SplashtopSOS.exe. Click Save and it will begin to download. Once it is finished you will see a prompt at the bottom of your screen asking if you’d like to run the program you just saved: Run the program. The Splashtop window will then appear and your 9 digit login ID will appear. Give that number to the technician on the phone and we will be able to connect to your computer.
Step 1d: Installing through Internet Explorer
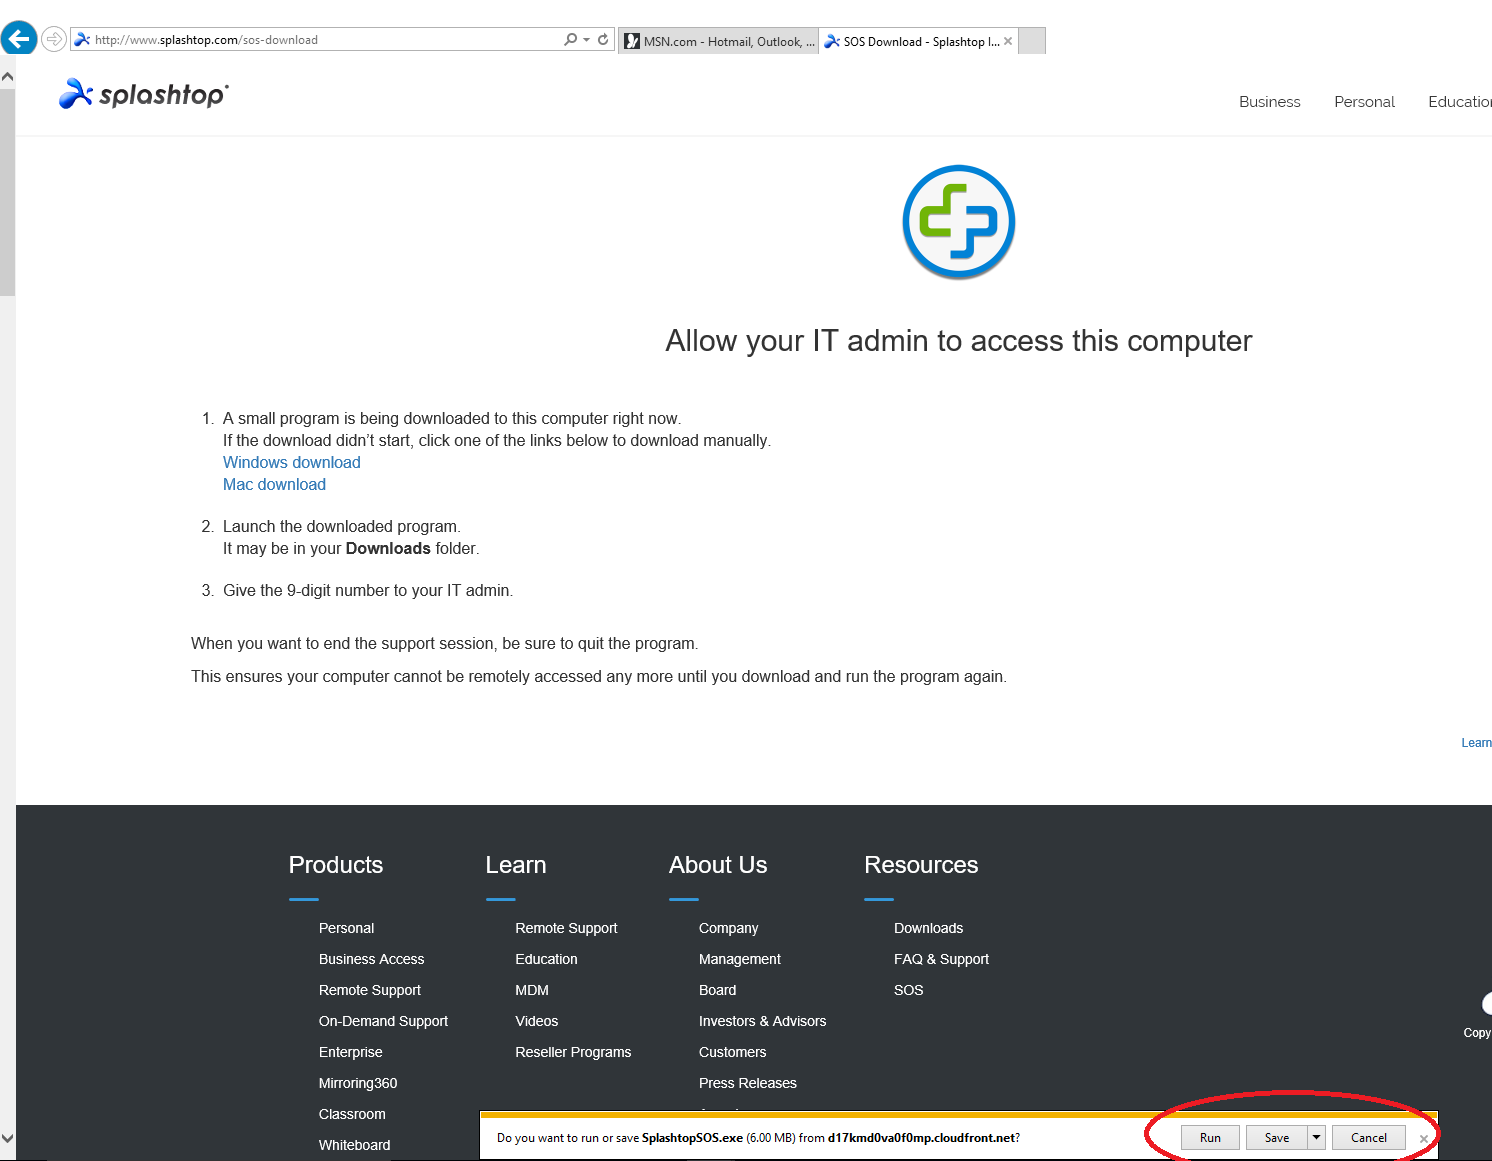
Once you begin the download of the Splashtop executable, a prompt will appear at the bottom of your browser asking you to save the file titled SplashtopSOS.exe. Click Save and it will begin to download. Once it is finished you will see a prompt at the bottom of your screen asking if you’d like to run the program you just saved: Run the program. The Splashtop window will then appear and your 9 digit login ID will appear. Give that number to the technician on the phone and we will be able to connect to your computer.
Step 2: Receiving your Access Code
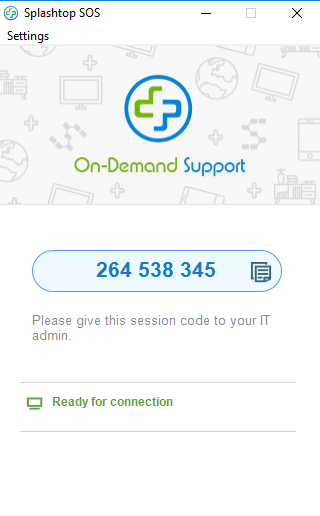
Once the Splashtop program begins to run, you will see a window appear that looks like the picture above. Provide the 9 digit access code that is auto-generated by the program. In this example you would tell the technician on the other line “264 538 345.”

Click Here for TeamViewer Download
Step 1: Downloading TeamViewer
In situations where Splashtop is not working or is inadequate, as a backup HPCS uses TeamViewer for remote sessions. Click the link above to download TeamViewer.
If you are unable to get the above download link to work, you can redirect yourself with the following link to the TeamViewer website: www.teamviewer.com
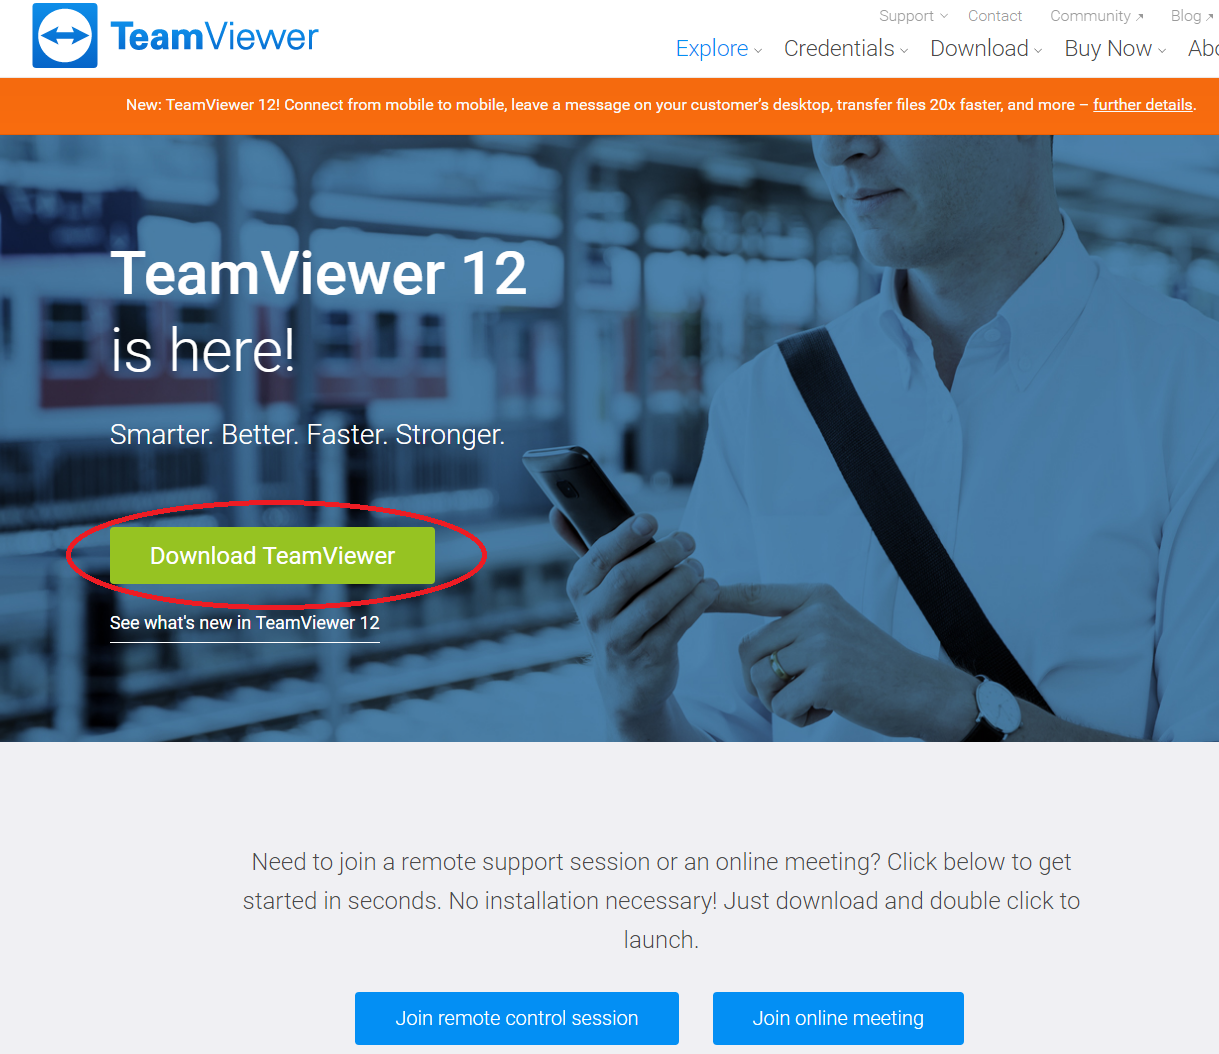
If you are using TeamViewer.com to download the program instead of the download link above, click the green “Download TeamViewer” button on the home page of the TeamViewer.com website to begin the download, as shown below.
Step 2: Installing TeamViewer
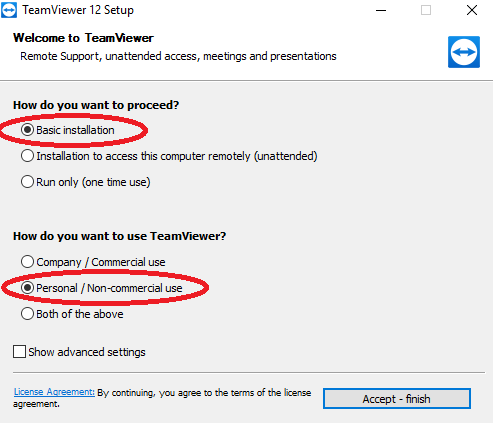
Once you have started the installation process, you will be prompted to choose how you will be using TeamViewer. As shown in the diagram above, select “Basic installation” , “Personal / Non-commercial use”; and then click the “Accept – finish” button in the bottom right hand corner to proceed. There will be other questions TeamViewer will pose during the installation process; just click “Next” for each step during the installation as TeamViewer’s default selections are fine. After it has finished installing, a TeamViewer shortcut will placed on your desktop. Open the program and follow the steps below to have an HPCS technician connect into your computer.
Step 3: Connecting to TeamViewer
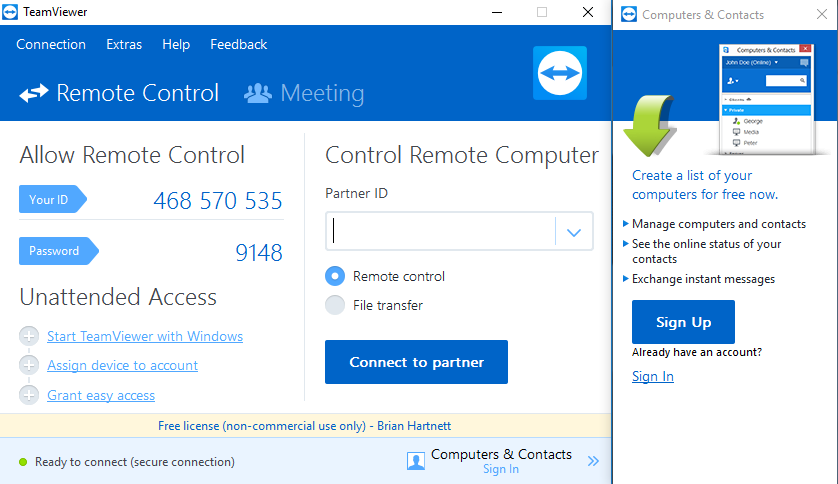
Once installed, open TeamViewer and you will see a window appear that looks like the picture above. You will provide the HPCS technician your 9 digit “Your ID” code and “Password” (in this example your ID would be 468 570 535 and the password 9148). Both of these numbers are auto-generated by TeamViewer, and the ID will always stay the same while your Password will change every time you open TeamViewer. With these numbers, an HPCS technician will be able to remotely connect to your computer.
Examples of Services Available Through Remote Support:
- Virus removal
- Software troubleshooting
- Software installation
- Networking configuration
- Printer troubleshooting
- Device management
- E-mail setup and configuration
- Driver updates
- Disk partition management
Even if HPCS cannot fully solve your IT problems remotely, remote services at the very least help give our technicians a more accurate picture of your difficulties and what will be involved to solve them. Please keep in mind that not all problems can be fixed with remote services, and that an active internet connection is required to connect remotely to your computer.